Most people wreck a smoothie before the blades ever move. They load frozen mango, kale, a frozen banana, and a scoop of almond butter into the jar, press the highest button, and stand there while the motor screams and the whole base walks toward the edge of the counter. Then they blame the blender. I blame the order of operations.
Learning to crush ice for smoothies is not about buying a louder motor. It is about what goes into the jar first, how long you let the blades work, and whether your jar's shape actually pulls food down into the blade path. Get those three things right and a mid-priced machine will outperform one that costs three times as much and got loaded wrong.
I ran a juice and smoothie bar in San Diego for seven years. We did 400 smoothies a day, which is about as many chances to learn what kills a blender as anyone gets in a lifetime. Then I moved to the supply side, testing equipment for commercial kitchen suppliers, where every machine still runs the same gauntlet: 50 smoothies per unit, frozen fruit, greens, and nut butter, with a stopwatch going. The blenders that died on me never died because they were cheap. They died because someone treated the jar like a dumpster.
This is the workflow I use now, on my counter and in test kitchens. It costs you about four extra minutes per smoothie.
Why you should trust me
I spent seven years behind a bar where the blender was the business. Four hundred smoothies a day, every day, on machines that had three weeks to impress me or get replaced. After that I moved to the supply side, which is a polite way of saying I break things on purpose for a living.
My rules do not bend. No recommendation without the 50-smoothie gauntlet. No "crushes ice" claim without a snow cone test. No motor claim without a three-minute run on straight frozen fruit. I have burned out more blender motors than most people will own in a lifetime, and every dead one taught me something about how a jar moves food.
Watts are a starting point, not a verdict. Blade geometry and jar design do the real work. That is the thesis of this whole article, and it is why the steps below matter more than any spec sheet.
How I picked and how I tested
The two machines below are the ones I would hand a friend who wants this to work on the first try. Neither is a commercial unit. Neither needs to be.
I tested them the way I test everything: 50 smoothies per machine, with frozen mango, kale stems, ice by the bucket, and almond butter in the rotation. I checked whether ice came out as snow or as gravel. I checked whether the base walked across the counter at high speed. I checked whether the jar pulled a thick blend down into the blades or left a pocket of unblended fruit spinning around the walls. I checked whether the parts go in the dishwasher, because a blender you are scared to wash is a blender you will stop using.
For the food processor the test is different. I care about whether it breaks frozen fruit down into pieces small enough that the blender is not doing all the work, whether it can make nut butter without the motor stalling, and whether the bowl and lid come clean without a fight.
I do not quote lab numbers I cannot stand behind. What I can tell you is what happened in my kitchen over 50 smoothies, and that is what the rest of this article is built on.
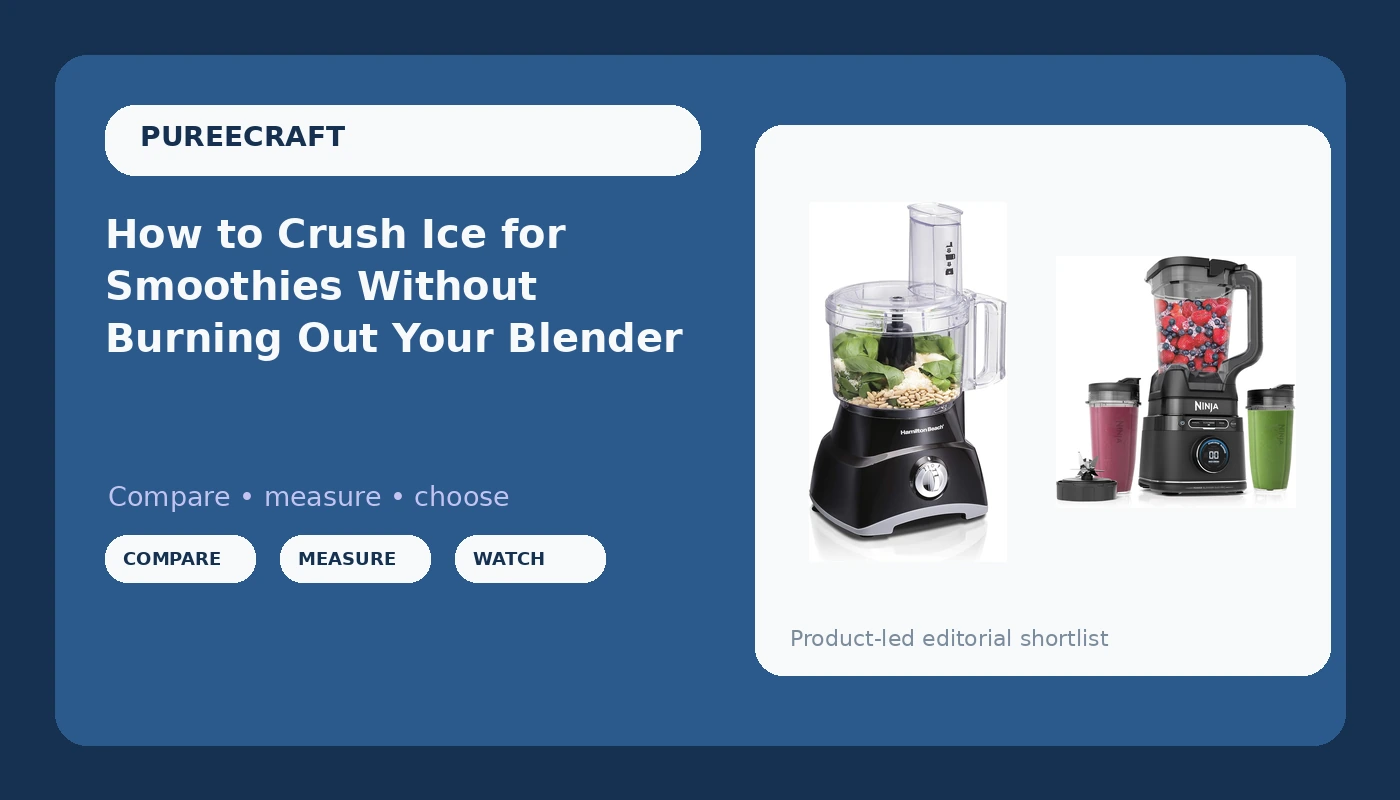
The two machines this workflow runs on
You can run this on almost any blender with a decent jar, but there is a floor, and these two clear it.
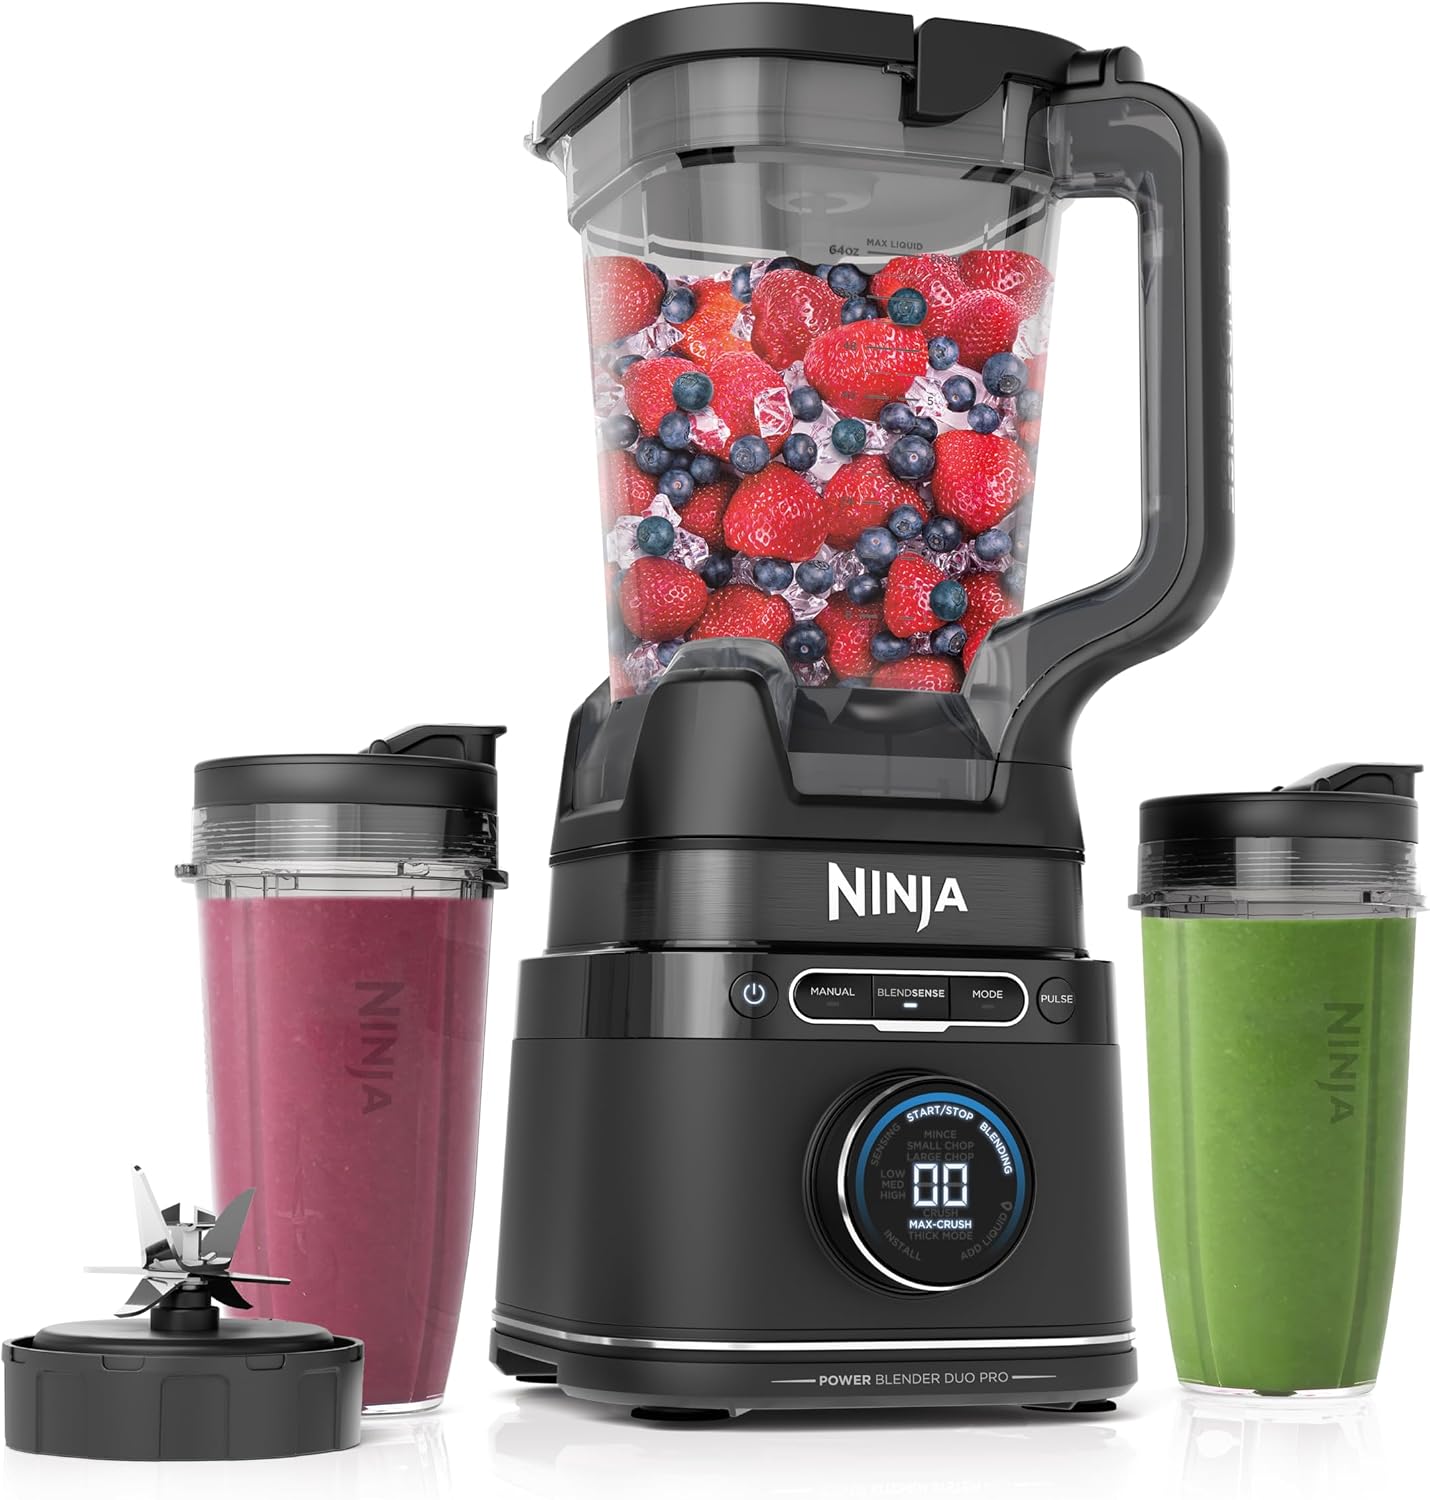
Main blender: Ninja Detect Blender with Cups, BlendSense Tech, 72oz, 1800PW, Black, TB301
 Visit on Amazon →
The Ninja is the budget pick I actually recommend, and it is the one I recommend specifically for ice. The blade stack design is the reason. Multiple levels of blades mean there is always an edge sitting in the path of the food, even when the blend drops low in the jar. That is the single biggest thing cheap blenders get wrong, and it is the thing Ninja gets right.
The 72-ounce jar is the right size for a family or for batch blending on a Sunday. BlendSense tech adjusts the run based on what it senses in the jar, which sounds like marketing until you have watched a machine decide on its own that frozen mango needs more time than a protein shake. The included cups are there for the mornings you want one smoothie and no dishes. I have complained about single-serve cups for years and I own three, so take that as you will.
The honest caveat is the jar itself. It is plastic, and plastic scratches and clouds over time. Run frozen fruit and ice through it five days a week and it will not look new in two years. That is the trade you make. Do not put metal utensils in it, rinse it while it is wet, and it will hold up far longer than the version of you that leaves it in the sink overnight deserves.
This is the machine for anyone who wants ice crushed into snow without paying commercial money, and who accepts that the jar is a wear item.
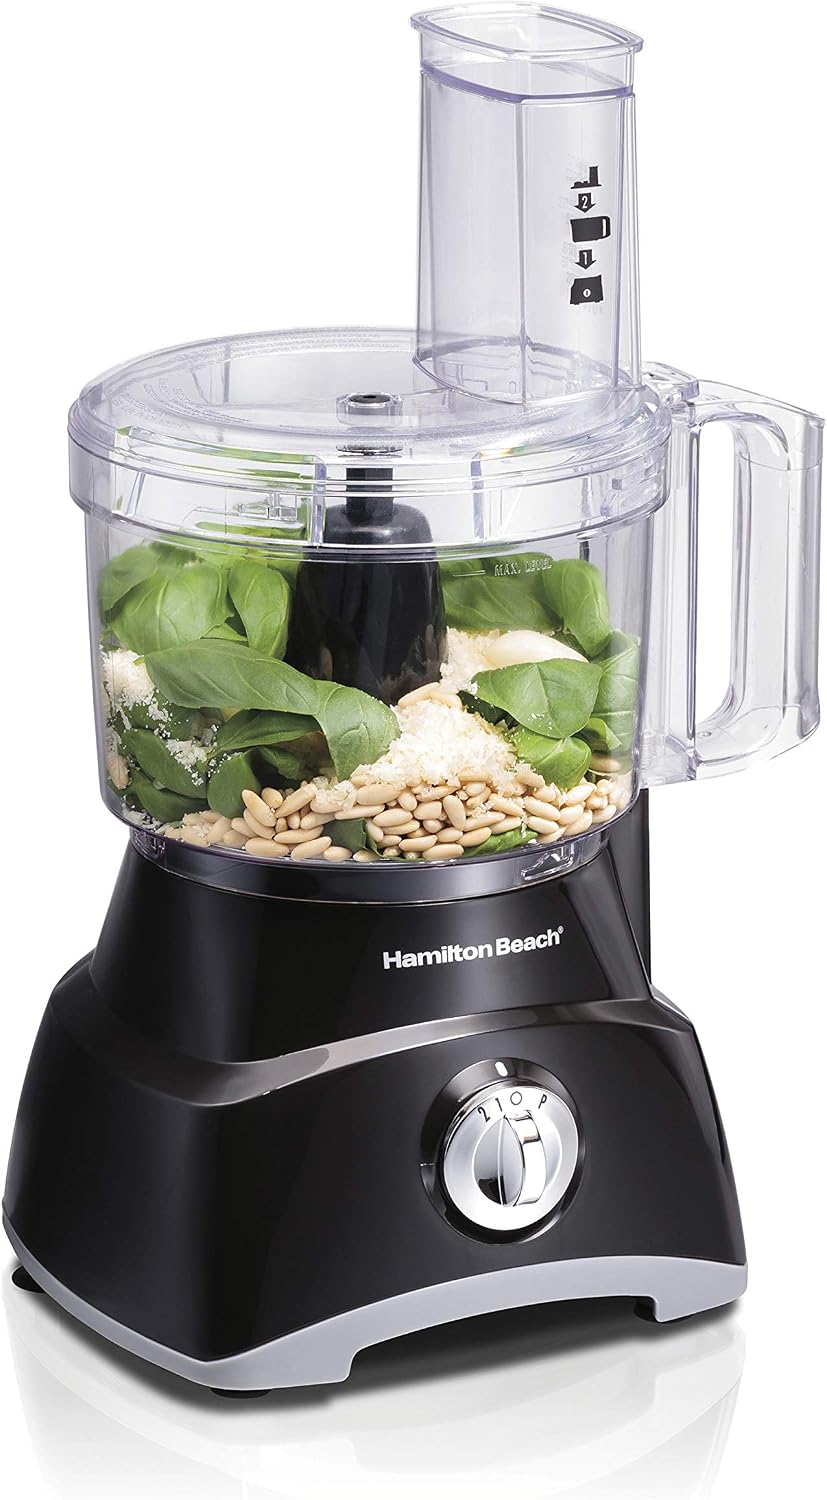
Prep partner: Hamilton Beach 8 Cup Food Processor & Vegetable Chopper
 Visit on Amazon →
Here is the part most people miss: half of good smoothie technique happens before the blender. Kale stems, whole frozen strawberries, blocks of frozen mango, and nut butter are all things a blender has to fight. A food processor does not fight them. It chops them.
This Hamilton Beach is the prep station. It breaks frozen fruit into pieces small enough that the blender's blades can actually reach them instead of bouncing off a rock the size of a golf ball. It turns kale into something closer to confetti. And it makes nut butter in small batches, which is a job I would never ask a home blender to do fifty times.
It is an 8-cup machine with a vegetable chopper setup, so it also handles the savory side of the counter: onions, peppers, salsa, hummus, pesto. That matters more than it sounds, because a machine that earns its cabinet space all year is a machine you keep.
The caveat is obvious and worth saying out loud. This is not a blender. It will not make you a smoothie, and if you buy it expecting a smoothie machine you will be disappointed. Buy it to prep, chop, and make nut butter, and it pays you back. Check the manufacturer's instructions for the bowl and lid before you build a routine around the dishwasher, because that is what decides whether it gets used.
The actual ice-crushing workflow
Now the part you came for. This works on almost any blender with a jar that tapers toward the blades.
Step one: liquid first, always. Water, milk, juice, yogurt, whatever your base is, goes into the bottom of the jar before anything else. Liquid is what lets the blades create a vortex and pull food down. Skip it and you are asking the blades to chew dry.
Step two: soft ingredients next. Fresh fruit, leafy greens, protein powder, nut butter, sweetener. These blend easily and give the blades something to grab while the frozen stuff waits on top.
Step three: frozen fruit, then ice last. Frozen fruit goes in above the soft ingredients. Ice goes in last, so it sits right under the blades when the jar is seated. This is the step people get backwards, and it decides whether you get a smoothie or a workout. Ice at the bottom lets the blades spin free in a puddle of liquid while the frozen fruit above them sits untouched.
Step four: do not fill past two-thirds. A thick blend needs headroom to move. Fill the jar to the top and you have created a plug, not a smoothie.
Step five: pulse first, then commit. Start on the lowest speed and pulse five or six times. This is the chop phase. You are breaking the ice and frozen fruit into small pieces before you ask the motor for a continuous run. Then move to high and let it work. Pulse is not a beginner feature. It is the feature smoothie bars use constantly.
Step six: use the tamper, or stop and scrape. If the blend stalls and you can see a pocket of unblended fruit spinning around the walls, stop the machine. Take the jar off the base, shake it, scrape down the sides, pulse again. On a machine with a tamper, use the tamper while it runs. A tamper is not an accessory. It is the difference between a smoothie and a chunky mess.
Step seven: run the snow cone test. Thirty seconds of ice on high should give you snow, not gravel. If you still hear rocks rattling, your jar is not pulling food into the blade path. That is a jar problem, not a wattage problem, and pressing the button harder will not fix it.
Step eight: rinse while it is wet. Fill the jar a third of the way with warm water, add a drop of soap, and run it a few seconds before you sit down. That is the entire cleanup. Do it now and you will use the machine tomorrow. Leave it for later and you will find a reason not to.
Where this goes wrong
Most failures come from four places.
Ice first, or ice alone. The blades spin in air or liquid and the motor heats up without crushing anything. Ice goes on top, every time.
Too little liquid. A thick blend needs a base to move through. If the blades are cavitating, meaning they spin in a hollow pocket while food gets pushed to the walls, add liquid a splash at a time and pulse. Do not add more frozen fruit hoping it sorts itself out.
Running continuously instead of pulsing. A long uninterrupted run on a thick blend is how motors die young. Pulse, scrape, pulse.
Overfilling. The two-thirds rule exists for a reason. Batch it instead.
One more, and it is a habit rather than a step: if a jar cannot go in the dishwasher, or if you are too nervous to put it there, you will stop using the machine. Check the manufacturer's instructions for your jar and bowl, then actually follow them.
What this all costs
You do not need both machines, but the pair costs less than most people assume, and each one covers a job the other cannot. Check current Amazon price on the Ninja and on the Hamilton Beach, then compare that against what you spend on smoothies in a month. If you buy two smoothies a week, either machine pays for itself inside the first year, and the food processor keeps earning after that on salsa, pesto, hummus, and nut butter.
If you can only buy one, buy the blender. Ice is the job. The food processor is the upgrade that makes the blender's life easier and takes over the work a blender should never be asked to do.
The technique is free. Four extra minutes, the right order, and a pulse button you actually use. That is the difference between a machine that lasts three years and a machine that lasts ten.