Most blender advice is about the machine. Mine is about the station around it. I ran a juice and smoothie bar in San Diego for seven years at 400 smoothies a day, and the blender station setup behind that counter was never one machine doing everything. It was a base I trusted, two jars so nobody stood around washing while the line grew, and a loading order that kept thick blends moving instead of stalling. That is the entire trick, and it works in a home kitchen with a normal counter and a normal budget.
I have burned out more motors than most people will own. Frozen mango by the case, kale stems, almond butter, ice by the bucket. The lesson is boring and useful: watts are a starting point, not a verdict. Jar geometry does the real work. The tamper is not an accessory. What follows is how to build a station that still runs in week three, when the novelty is gone and you just want breakfast.
Why I judge blenders the way a smoothie bar does
Seven years of 400 smoothies a day teaches you what a spec sheet cannot. A machine that cannot crush ice into snow cannot make a proper smoothie, no matter what the box says. A jar that will not pull a thick blend down into the blades turns every nut butter smoothie into a fight with a spatula. A base that walks across the counter on high is a base you will start avoiding.
My rule set is short. Does the jar funnel food into the blade path? Does the machine hold speed when frozen fruit hits it? Does the jar come clean without a scrub brush and a prayer? Three yeses and it earns counter space. Anything less and it goes in the cabinet, which is where blenders go to die.
That standard is why I do not care much about the wattage war. A 1,200W motor with a bad jar loses to a 700W motor with good jar geometry every time. Watts tell you how much power the motor can draw. They do not tell you where that power goes.
What a blender station actually is
A station is three things: a base you trust, at least two jars, and a dedicated spot on the counter where the whole thing lives. Not the cabinet. Counter. If you have to unpack a blender to use it, you will stop using it.
Two jars matter more than people expect. One jar is for wet blends: smoothies, soups, sauces. The other is for dry or abrasive work: ice, nuts, frozen fruit with seeds. Cross-contamination is real. Ice and nuts dull and scratch the same container you blend your greens in, and a jar that smells like last night's garlic does not belong anywhere near a mango smoothie.
The third piece is the tamper, if your machine came with one. In my shop, the tamper was the difference between a smoothie and a chunky mess. Thick blends do not flow on their own. They need something to push them into the blade path without adding liquid.
The two pieces worth owning
If you are starting from zero, buy the all-in-one. If you already own a full-size base, buy the jar. Those are two different purchases, and mixing them up is how people waste money.
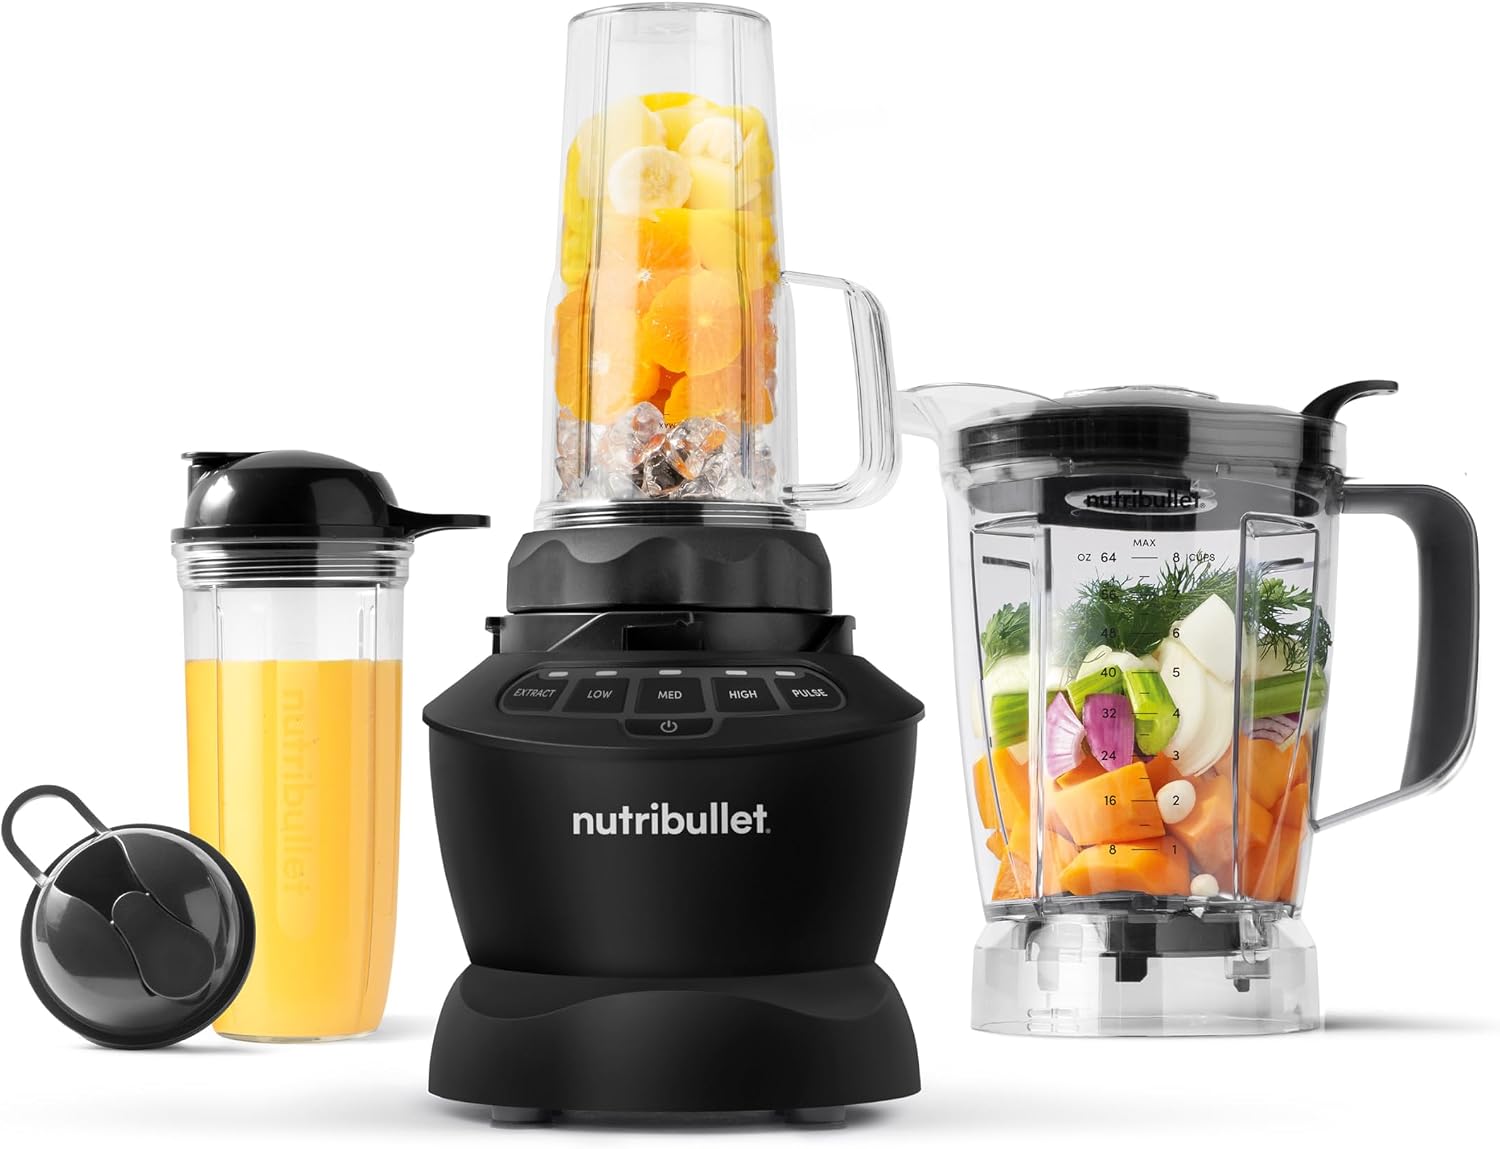
The all-in-one pick: nutribullet® Full-Size Blender Combo, 1200W, Matte Black, NBF50500AK
 Visit on Amazon →
This is the box to buy if you want one purchase to cover both jobs. It is a 1,200W full-size combo, which means a full-size pitcher for family batches plus single-serve cups for the mornings when you are blending one smoothie and walking out the door. Check current Amazon price.
The honest note on this class of machine is the cups. In my experience with NutriBullet-style blenders, the motor is rarely the thing that quits first. It is the cup threads and the cup base, because they take the torque of every frozen blend you throw at them. Treat the cups as the wear part, hand wash them when you can, and do not torque them down like a lug nut.
The other honest note: 1,200W is plenty for smoothies and daily ice, but a full-size combo is a home machine, not a commercial one. If you are blending three batches back to back every morning, give it a breather between them. Motors die from heat, not from watts.
Flaws but not dealbreakers: The cups are the weak link, and the base is not built for all-day commercial runs. For a household doing one to three blends a day, that is a fine trade.
Anyone starting with nothing, or replacing a dead machine with one box, should look here first.
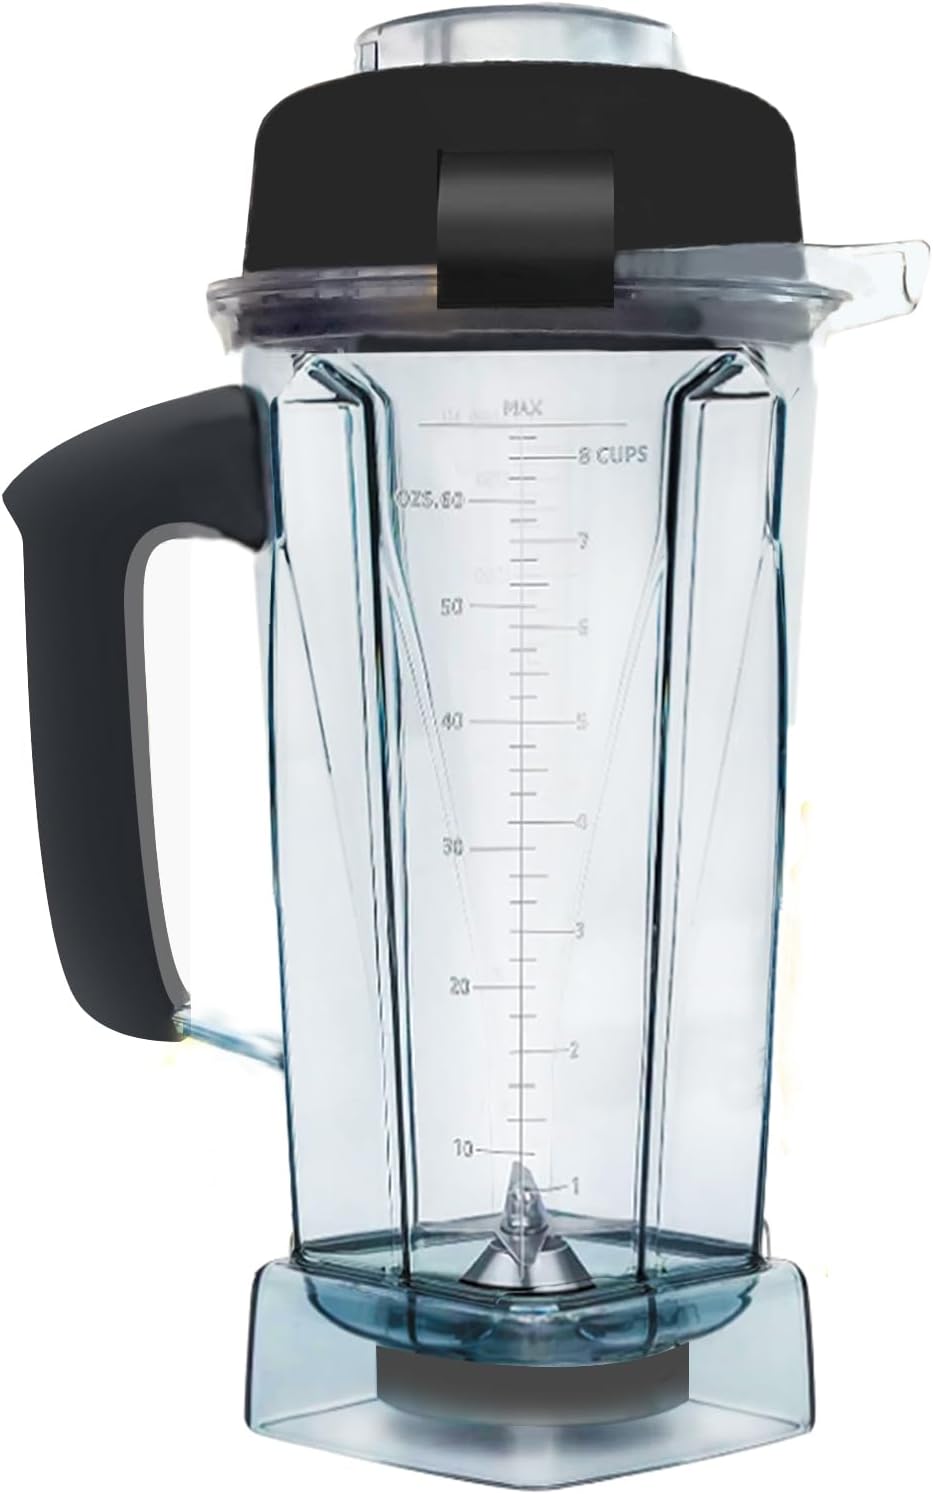
The spare jar pick: Blender Pitcher 64oz, Compatible with Vit 5200 5000 5300 6300 VM0101 VM0103 VM0197 Classic/Commercial Series, Blender Container Jar Cup,Updated Prevents Rust and Leaks,10 Years Warranty
 Visit on Amazon →
If you already own a 5200-class base, you do not need a new blender. You need a second jar, because the jar is the part that wears out. This is a 64oz replacement pitcher listed as compatible with the 5200, 5000, 5300, 6300, VM0101, VM0103, and VM0197 Classic and Commercial series bases, which covers most of the workhorse machines still running in home kitchens. Check current Amazon price.
The listing states updated seals to prevent rust and leaks, plus a 10 year warranty on the container. That matters, because the failure point on any aging jar is the base seal, not the walls. A leaking jar is how people end up with a puddle under the base and a smoothie on the ceiling.
Flaws but not dealbreakers: This is an aftermarket jar, so fit is on you to verify. Match your base model against the compatibility list before you order, and check that your existing lid and tamper fit the new container, because they are not always interchangeable.
Anyone with a Vitamix-style base that still runs strong but whose original jar has started weeping at the seal should buy this instead of a whole new machine.
How to set up the station, step by step
This takes about fifteen minutes, once.
Step one: Clear the counter. Pick a spot with an outlet nearby and two feet of clearance above the base. Blender jars are tall, and a jar that does not fit under your cabinets is a jar you will not use.
Step two: Park the base and leave it there. Route the cord so it is not a trip hazard, then stop moving the machine. A blender that lives on the counter gets used five times a week. A blender that lives in a cabinet gets used twice a month, and then never again.
Step three: Assign the jars. Wet jar on the left, dry jar on the right, or whatever your muscle memory prefers. The point is that the decision is already made when you are half awake.
Step four: Put the tamper within reach. If your machine came with one, it belongs next to the base, not in a utensil crock across the kitchen.
Step five: Keep a silicone spatula at the station. You will need it for scraping thick blends out of the jar, and it will not scratch the container the way a metal spoon will.
Step six: Learn your low setting. Most full-size blenders want low to start and high to finish. Starting a frozen blend on high is how you jam a blade and stall a motor.
Step seven: Establish the rinse ritual. The moment you pour your smoothie, fill the jar a third of the way with warm water, add a drop of dish soap, and run it on high for about thirty seconds. Pour it out, rinse, and set it to dry. This one habit is the difference between a blender you use daily and a blender that sits dirty in the sink until you resent it.
How to load a jar so thick blends actually move
Order matters more than speed. Load in this sequence and a 1,200W machine will do work that a badly loaded 1,500W machine cannot.
Liquid first, always. Water, milk, yogurt, juice. It goes in before anything else because the blades need something to pull from the bottom.
Then powders and soft items: protein powder, oats, banana, avocado.
Then leafy greens. Kale and spinach go above the soft items so they get dragged down rather than plastered against the jar wall.
Then frozen fruit, then ice on top. Hard items last, because the weight of the frozen fruit is what pushes the greens into the blade path as it breaks down.
Nuts and nut butter go in last, and they need liquid around them. A jar with nothing but almonds and dates in it will stall on almost any home machine. Add liquid, use the tamper, and be patient.
Never fill past the max line. A jar that is too full cannot form a vortex, and without a vortex you are not blending, you are stirring at high speed.
Cleaning rules that keep jars alive
Rinse immediately. Not later, not after you finish drinking your smoothie. Dried smoothie at the base seal is how seals fail early.
Hand wash the cups, dishwasher the pitcher, if the manufacturer allows it. Cups have threaded bases and rubber gaskets that hate heat cycles. A blender you are scared to put in the dishwasher is a blender you will stop using, but that rule applies to the pitcher, not the cup threads.
Dry the base seal. Water sitting in the seal collar is what causes rust and odor. Pull the blade assembly out, rinse it, and let it air dry upside down.
Never submerge the base. Wipe it with a damp cloth. The motor housing is not waterproof, and dunking it is the fastest way to turn a working blender into a paperweight.
Mistakes that stall a motor
Putting ice in first. The blades have nothing to grab, and you get a loud machine doing nothing.
Overfilling the jar. Vortex or nothing.
Running thick blends on low for minutes at a time. Low speed with a heavy load is the worst combination for motor heat.
Skipping the tamper. If your machine came with one and you never use it, you have been making worse smoothies than your blender is capable of.
Believing the wattage on the box. A 1,500W sticker on a jar with bad geometry loses to a well-designed 1,200W machine. Every time.
What you do not need
You do not need a commercial blender for a home kitchen. Commercial machines are built to run all day, and you are blending twice. You do not need a vacuum blender, an app-connected blender, or a machine that talks to your phone. You do not need five single-serve cups, even though the combo above will tempt you.
What you need is one base you trust, a wet jar, a dry jar, and a tamper you actually use. Everything else is marketing.
What this costs you in time
The setup is fifteen minutes. The loading order saves you the two minutes you currently spend stopping the machine to scrape the sides. The rinse ritual saves you the ten minutes of soaking a crusted jar, and it is the reason the seals in your jars last years instead of months.
The math on the counter is the same as it was in my shop. The blender that gets used is the one that is already out, already clean, and already loaded right. Buy the all-in-one if you need everything at once, buy the spare jar if your base is still strong, and then set the station up once and leave it alone.
That is the job. Do it once and your mornings get faster.