Most people shopping for a blender for smoothies and shakes start with the same question: how many watts? That number is easy to print on a box and hard to interpret on its own. A high-wattage motor bolted to a jar that lets frozen mango climb the walls will still stall. A more modest motor paired with a jar that funnels food back down into the blade path can keep moving. The things that actually decide whether your smoothie pours out smooth are torque delivery under load, blade geometry, jar shape, and whether you will still be willing to clean the machine in month six.
Related: Blender Jar Materials Compared: Plastic, Glass, and Tritan →
Quick answer
A blender for smoothies and shakes needs three things: enough sustained torque to keep frozen fruit and ice circulating, a jar that pulls thick mixtures down into the blade path, and parts that come apart for cleaning without a fight. Everything else, speed presets, displays, color options, is secondary. If your routine is thin smoothies and the occasional shake, a lower-cost machine with a sensible jar can handle it. If you routinely load frozen fruit, greens, nut butter, and ice into the same pitcher, put your money into the motor and the jar rather than the control panel.
4 useful options
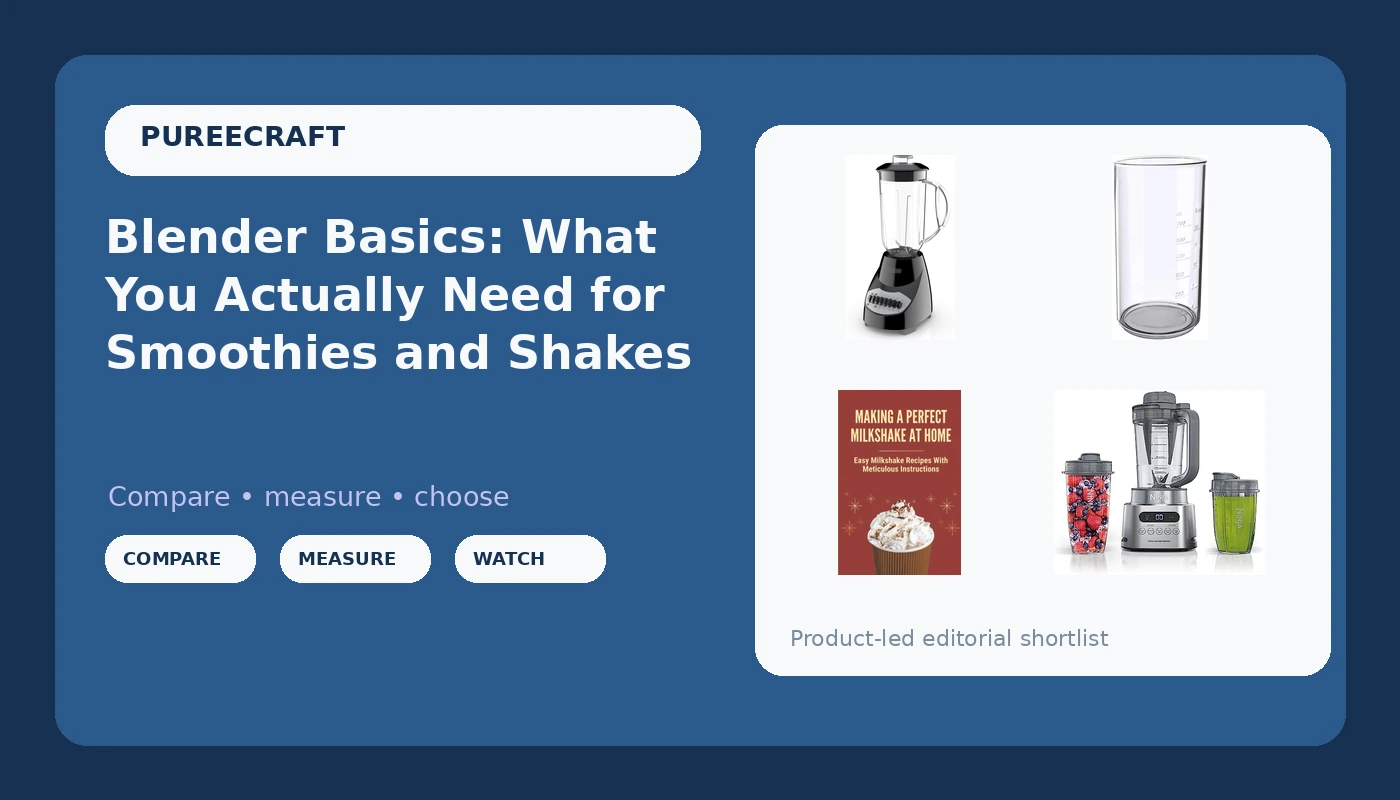
| Model | Best fit | What stands out |
|---|---|---|
| Ninja SS151 TWISTi Blender DUO | Frozen fruit, ice, and daily smoothie volume | 1600 peak watts, smartTORQUE, a 34 oz pitcher plus two to-go cups |
| BLACK+DECKER Crush Master Blender, BL2010BP | Straightforward blending on a small budget | 10 speeds and stainless steel blades in a simple jar |
| 27 oz Measuring Cup for Immersion Blender | Measuring and pouring without dirtying a second bowl | BPA-free plastic, pour spout, stable base, clear markings |
| Making A Perfect Milkshake At Home | Learning thick-shake technique | A recipe collection with detailed, step-by-step instructions |
The high-speed pick: Ninja SS151 TWISTi Blender DUO
The reason a setup like this matters for frozen blending is the combination of a full pitcher and cups. A pitcher gives the blades room to create a vortex, which is what keeps frozen chunks tumbling instead of sitting still in a pocket. Cups are convenient, but they hold less, so the same volume of frozen fruit leaves the blade less open space to work with. If you make smoothies for more than one person, the pitcher is the part you will use most. Note that peak watts describe the top of the motor's range rather than a steady output, so treat the number as a starting point and judge the machine on how it behaves when the jar is loaded, not on the figure alone. Also check that the pitcher and cups are listed as dishwasher safe before you commit, since a blender you avoid cleaning is a blender that ends up in a cabinet.
The budget pick: BLACK+DECKER Crush Master Blender, BL2010BP
Ten speeds sounds like a lot until you use them. In practice most blending happens in the middle of the dial, with a low setting for folding in and a high setting for the final push. The value of a machine in this class is that it removes the decision fatigue: one jar, one dial, no cups to lose. The trade-off is that a lower-cost motor has less headroom when you pack the jar with frozen fruit and thick liquids at the same time. If you go this route, blend in stages, add liquid first, and give the machine a break between batches rather than running it back to back. That habit extends the life of any blender, and it is the single most common thing people skip.
The accessory: 27 oz Measuring Cup for Immersion Blender
Accessories rarely make an article, but this one solves a real problem: the measuring cup you blend in is also the cup you pour from, which cuts one dish out of the routine. A 27 oz capacity covers a large single smoothie or a two-person shake without needing a second container. The pour spout matters more than it sounds, because a wide-rimmed jar pours in a sheet and lands half the contents on the counter. If you already own an immersion blender, this is the companion piece that makes it usable for thicker mixtures. If you own only a countertop pitcher blender, it still earns its place for pre-measuring liquid and yogurt before they go into the jar.
The reference: Making A Perfect Milkshake At Home
Thickness is the part of shake making that most people get wrong, and it is almost always a ratio problem rather than a machine problem. Too much milk and you get a thin drink no blender can rescue. The fix is usually less liquid, colder base ingredients, and a shorter blend so you do not melt the ice cream into soup. A recipe reference is worth having for exactly that reason: it gives you proportions to start from, and proportions are the variable you can actually control. Pair it with any machine on this list and you have the two halves of the job covered, technique and hardware.
Prices and availability may change. Product images, names, and retailer links must be matched by verified ASIN. Do not state a current price, rating, stock status, or measured result without current evidence.
What motor power actually tells you
Watts measure electrical draw, not blending ability. Two machines with the same wattage can behave completely differently depending on gearing, blade sharpness, and how much air the jar lets in. Peak wattage figures describe a brief maximum, not a sustained output, which is why a blender can list a big number and still struggle with a full jar of frozen fruit.
The more useful question is whether the motor holds its speed as the mixture thickens. When a blade slows down, the food stops circulating and the blend stalls, and that stall is what wears out motors over time. This is why blending in stages beats loading everything at once, and why adding liquid at the start is not a cheat but a technique. Thick blends need something for the solids to move through.
Jar shape, blade geometry, and the tamper question
Jar shape is the quiet differentiator. A jar that tapers toward the blades creates a funnel, and the funnel is what pulls ingredients back down into the cutting path. A wide, straight-sided jar lets heavy chunks settle at the walls, out of reach. This is also why single-serve cups behave differently from pitchers: less volume around the blades means less room for a vortex to form, so the same recipe that works in a pitcher can stall in a cup.
Blade geometry does the rest. Stacked blade assemblies with blades at multiple heights catch food at different levels in the jar, which is why they tend to handle ice and frozen fruit better than a single flat blade. And on any machine built for thick blends, a tamper is not an accessory, it is part of the design. If a machine is marketed for nut butters or frozen desserts and ships without one, that is a signal about how thick it really expects you to go.
- Decide what you blend most: thin smoothies, thick shakes, or frozen fruit and ice by the pitcher.
- Match the jar to the job. A full pitcher for volume, cups for single servings.
- Check that the jar, lid, and blade assembly are listed as dishwasher safe.
- Confirm whether a tamper is included if you plan on thick blends.
- Plan for staging: liquid first, frozen items in batches, and a pause between loads.
Practical guidance for everyday blending
- Put liquid in first. It gives the blades something to pull the solids into.
- Cut frozen fruit into smaller pieces before it goes in the jar.
- Use short pulses to break up ice and frozen chunks before switching to a continuous speed.
- Give the motor a rest between batches instead of running back-to-back loads.
- Rinse the jar immediately after pouring. Dried residue is what makes cleaning feel like a chore.
Which option should you choose?
Choose the Ninja SS151 TWISTi Blender DUO when you want one machine that covers a full pitcher and single servings, and you regularly blend frozen fruit and ice. Choose the BLACK+DECKER Crush Master Blender, BL2010BP when your blending is straightforward, your counter space is limited, and a simple dial is more appealing than a feature list. Choose the 27 oz Measuring Cup for Immersion Blender when you want to measure, blend, and pour from one vessel without a second bowl. Choose Making A Perfect Milkshake At Home when thickness is the specific problem you are trying to solve and you want proportions to work from.
The catch is that none of these decisions can be made on specs alone. Peak wattage, capacity, and blade count are descriptions, not results. What matters is how a machine behaves with your ingredients, in your kitchen, at the volumes you actually blend. Buy from a seller with a return window you can live with, and run your own test in the first week with the hardest thing you plan to make.
The bottom line
A blender for smoothies and shakes is a jar, a blade, and a motor, and the jar and blade matter more than most shoppers expect. If you blend frozen fruit and ice regularly, a machine with a proper pitcher, stacked blades, and single-serve cups gives you the most flexibility. If your routine is simpler, a ten-speed countertop blender covers it at a fraction of the complexity, and a dedicated measuring beaker plus a recipe reference fills in the gaps that equipment cannot solve. Start with what you actually blend, then buy the machine that matches it.